When propellant burns it leaves some residue in the firearm. This residue is a contaminant, and consists partly of very strong acids (mainly nitric and sulfuric), which not only affects the mechanism but also causes corrosion. Residue embeds in all parts that have contact with propellant gases. It would be very hard to give a definite list of these parts here as it is dependent on the firearm design but we can say that it’s mainly the barrel, the bolt and the gas tube. Copper is another type of contaminant to be found in the barrel. Rifling not only rotates the projectile but also scores it. This creates friction and very high temperature which leave particles of the projectile jacket (copper) baked on the of inside the barrel.
With firearms the working parts as well as the barrel are made with certain tolerances. These tolerances allow the firearm to function despite the contaminations being present. For some firearms these tolerances are minute (precision sniper rifles), for others are rather larger (AK-47). Despite these tolerances, at some point the contaminations will affect the weapon. Initially, this will result in stoppages and eventually may even stop the projectile in the barrel.
Methods of cleaning
How often should we clean the firearm? It depends, ideally every time after the weapon has been used. There are four methods of cleaning available: 1) mechanical, 2) electrolytic, 3) ultrasound and 4) chemical.
1) Mechanical cleaning removes dirt and debris by use of brush or other tool. It’s conducted dry and is not really efficient. Moreover, frequent mechanical cleaning can result in a shorter life of the barrel (rifling gets worn).
2) When electrolytic cleaning is employed the dirty elements are immersed in an alkaline solution and a direct current (D/C) is applied. It’s a very effective method but requires a lot of knowledge and is not recommended for the beginner. If not conducted properly it can damage the parts being cleaned.
3) The ultrasound method involves the use of ultrasound for the cleaning process. This technique is often used for cleaning bullet cases for handloading. The dirty parts are placed in a vessel containing cleaning solution, the effects of the ultrasound then cause the contaminants to separate from the parts. It’s the most firearm-friendly method but requires complete disassembly of the firearm but one has to have access to an ultrasound cleaner.
4) The most popular (and cheapest in comparison to the ultrasound technique) method is chemical cleaning. To be precise, it’s more like chemical-mechanical cleaning, and requires use of special cleaning solutions followed by the use of cleaning accessories. This process will be the focus of this article.
Tools
To clean a firearm we will need:
– a cleaning mat, so we don’t dirty our work area
– protective (nitrile) gloves as the cleaning solutions are usually quite harmful to skin
– a cleaning rod
– barrel brushes
– a pull through rod attachment
– cotton rags
– q-tips
– pull through patches
– paper towel
– a brush
– barrel cleaning foam
– gun oil
– grease
– corrosion protection treatment
– some containers for small parts and for used patches/rags
– tools specific to a particular weapon model
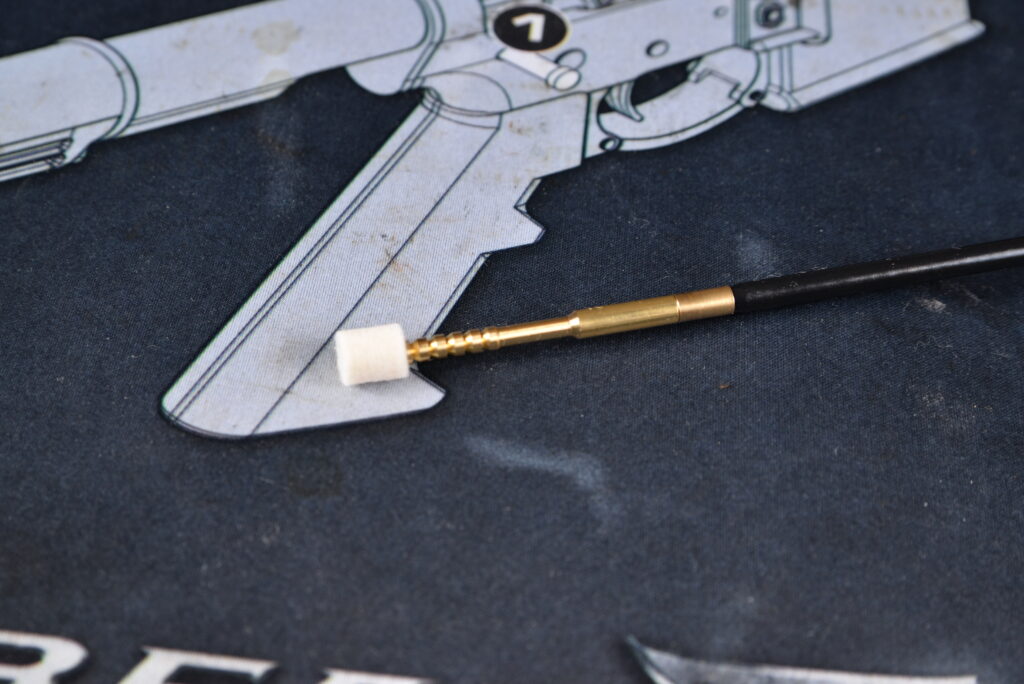
Cotton tips for cleaning rod, for .12 and 7.62mm caliber barrels. First one fits nicely the gas chamber of AK
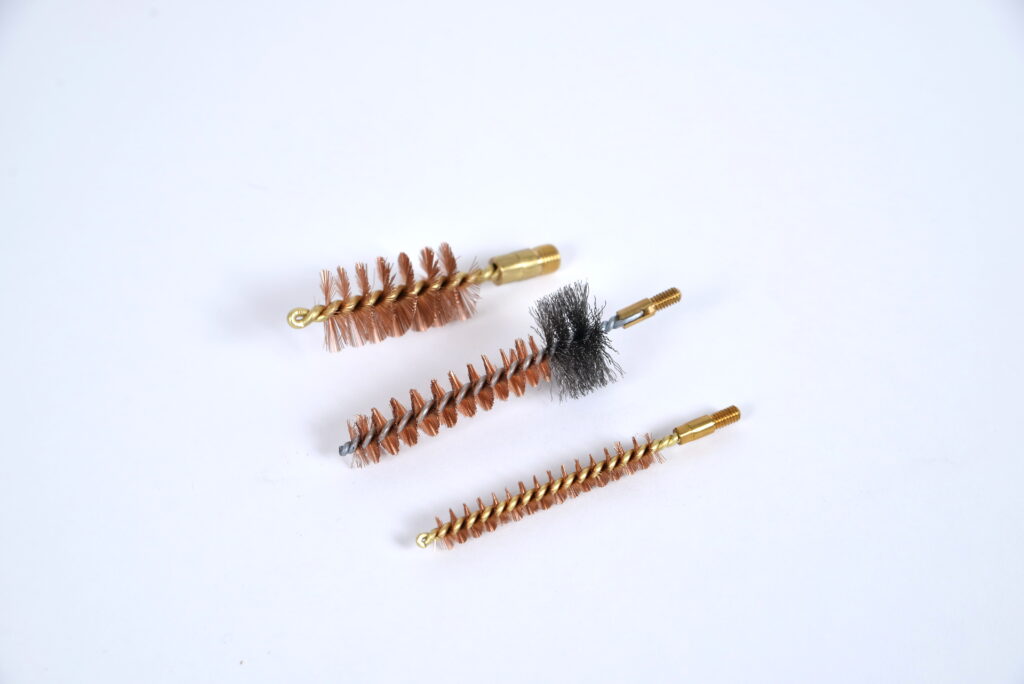
Copper tips for various calibers – up to down .12, 7.62 mm and 5.56 mm
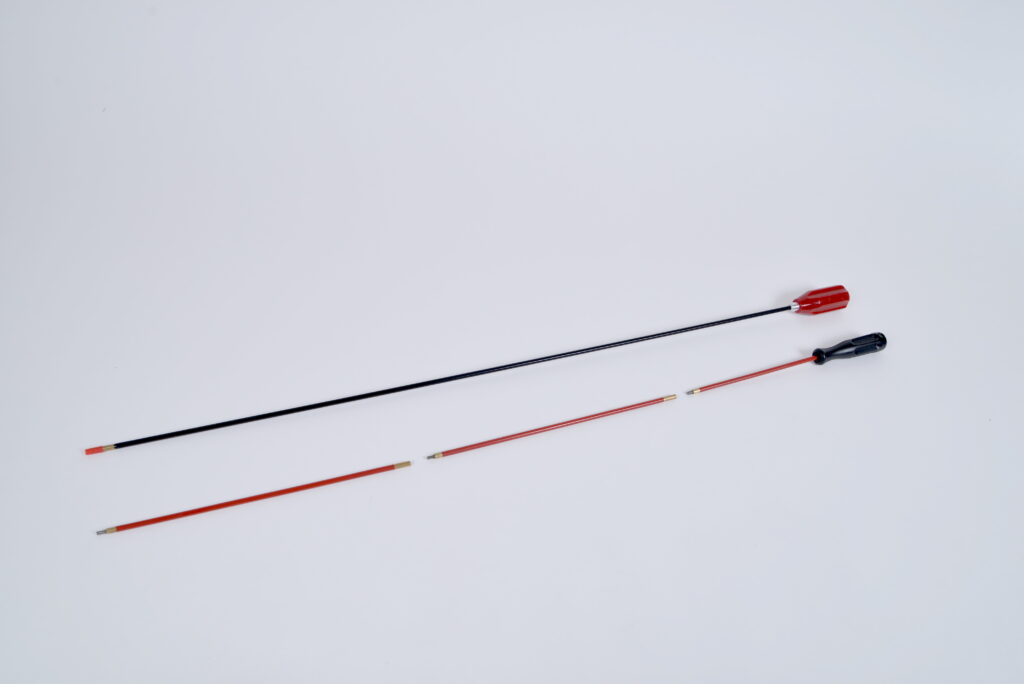
Cleaning rods: uniform and folding, more convenient to use when cleaning a weapon with a shorter barrel
Let's get to it
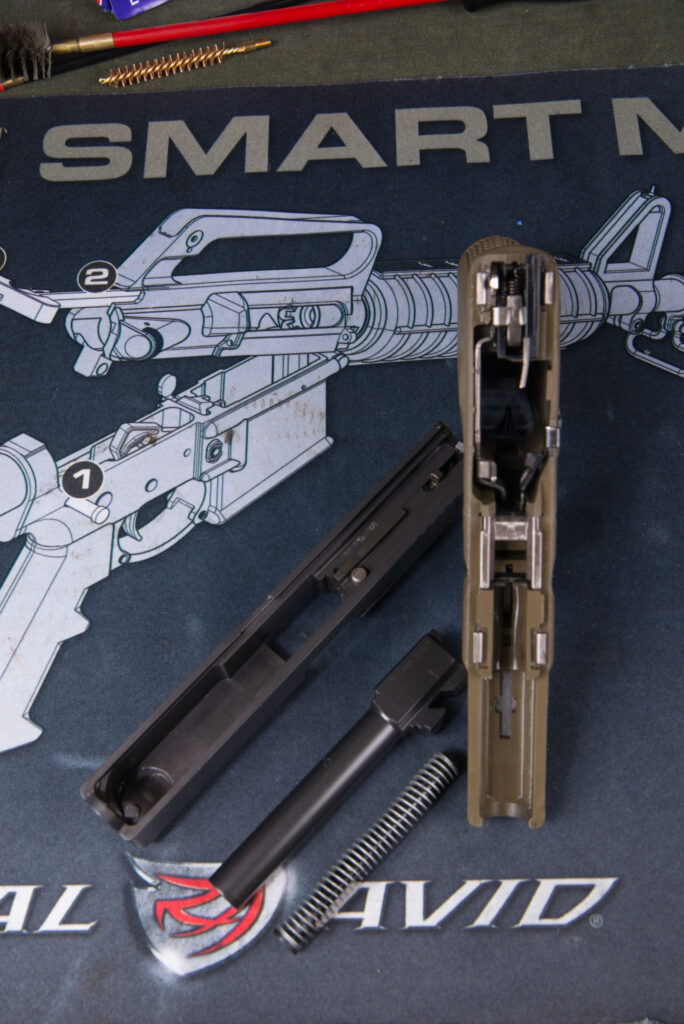
To start with, check the firearm is in a safe condition (unloaded and cleared), then disassemble it. Small parts go into a container, so we don’t lose them. After the parts are arranged on the mat and the gloves are on we can start the cleaning process. Try to keep all the necessary cleaning kit handy so we don’t dirty our working area. Keep some paper towels laid flat, it’s useful when waiting for cleaning solutions to do its magic. Wiping the gloves from time to time is also a good habit as this will prevent the contamination of already cleaned parts.
AK catching bolt lock before cleaning, after firing about 50 cartridges
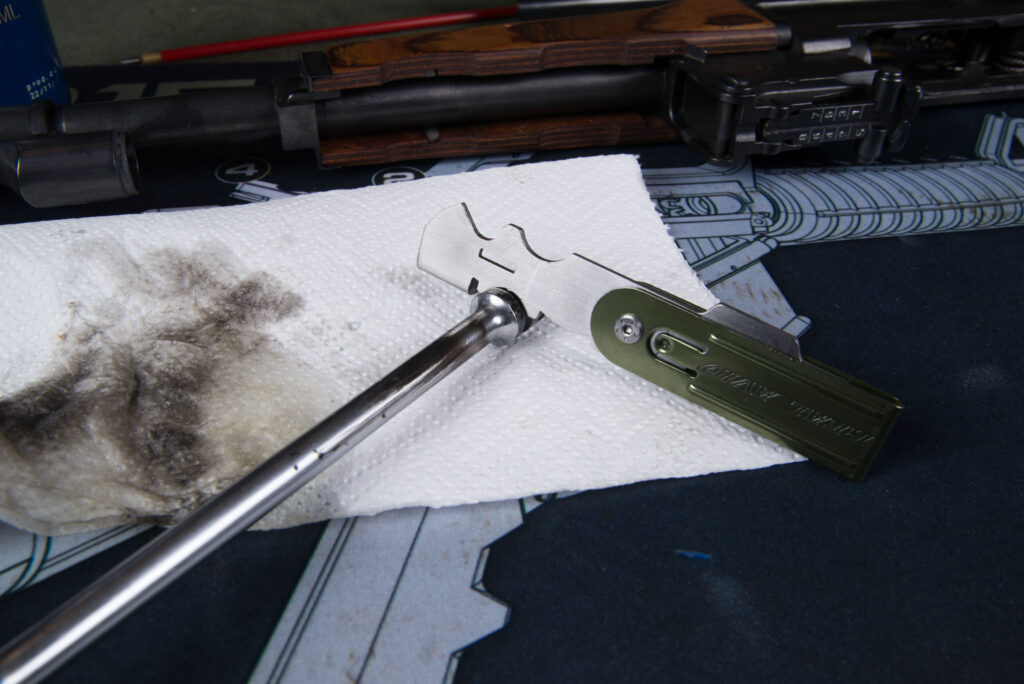
Start with removing dirt with a cotton cloth. Some of the dirt will be quite loose and we will save on cleaning time by removing this, so the chemicals don’t have to dissolve it. Q-tips also come in handy now (flatten the tip with a multi-tool to reach those hard-to-reach places).

Just wiping with a cotton cloth before using chemistry, removes a lot of carbon residue
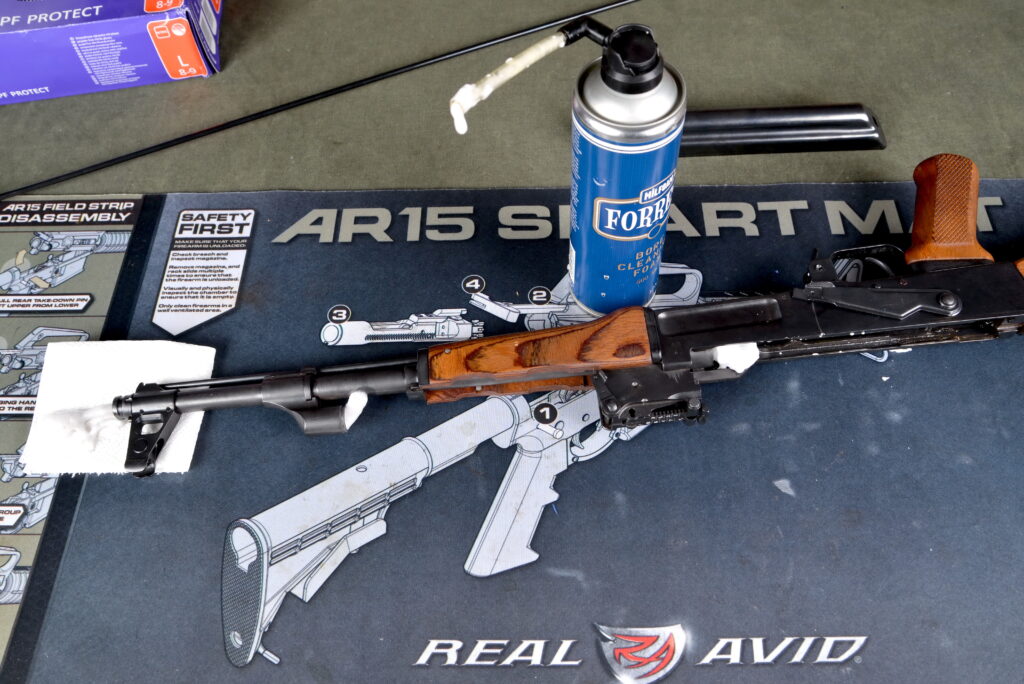
After these preparations, the chemical solution is used. Squirt the cleaning foam into the barrel (it will dissolve the baked on contaminants, copper and lead). Read the instructions, but it usually takes between 15 to 30 minutes for the foam to do its job. Use a copper or bronze brush attached to the cleaning rod. When making the first pass it’s good to blank off the barrel end so all the foam will get onto the brush. It usually takes about a minute or two of energetic work to clean the barrel. If the weapon has not been cleaned for a long time some more work may be necessary.
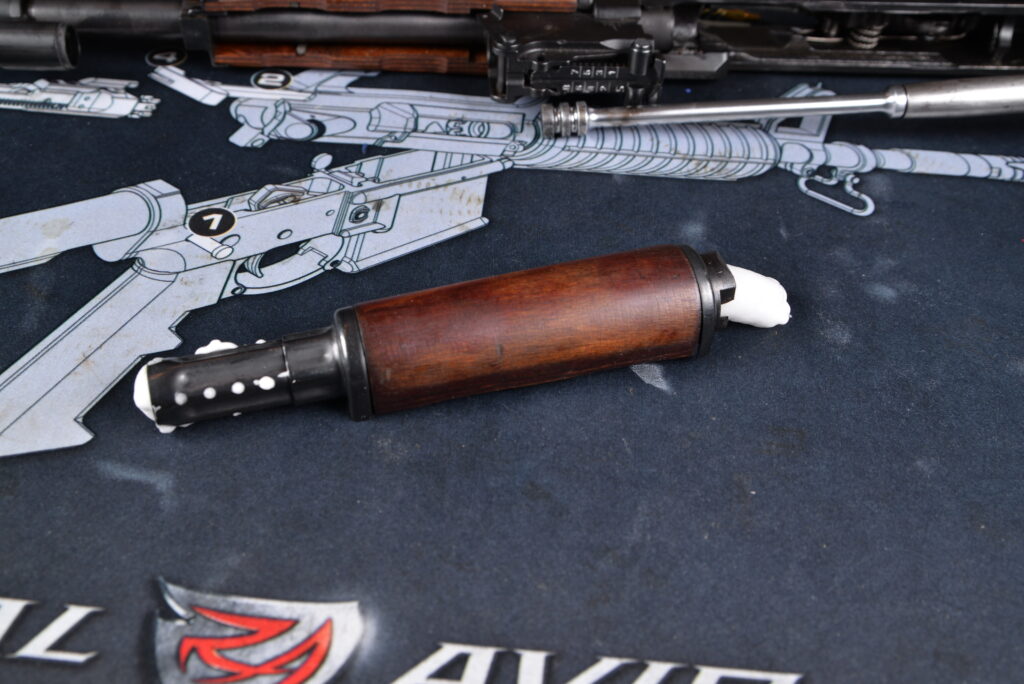
Rifle with foam injected into the barrel and set aside until the chemical softens the residue
When the brush has done its job, it is removed from the rod and a pull through attachment is added for the cleaning patches. Use those patches to collect the remaining dirt and traces of the cleaning solution. Do it until the patch leaving the barrel is clean and dry. Look inside towards a light source to check that it’s clean. There should be no black spots nor marks or any damage inside the barrel. I would recommend using a brush or a cotton patch at the end of the cleaning process, this way the remains of felt from the patches will get removed.
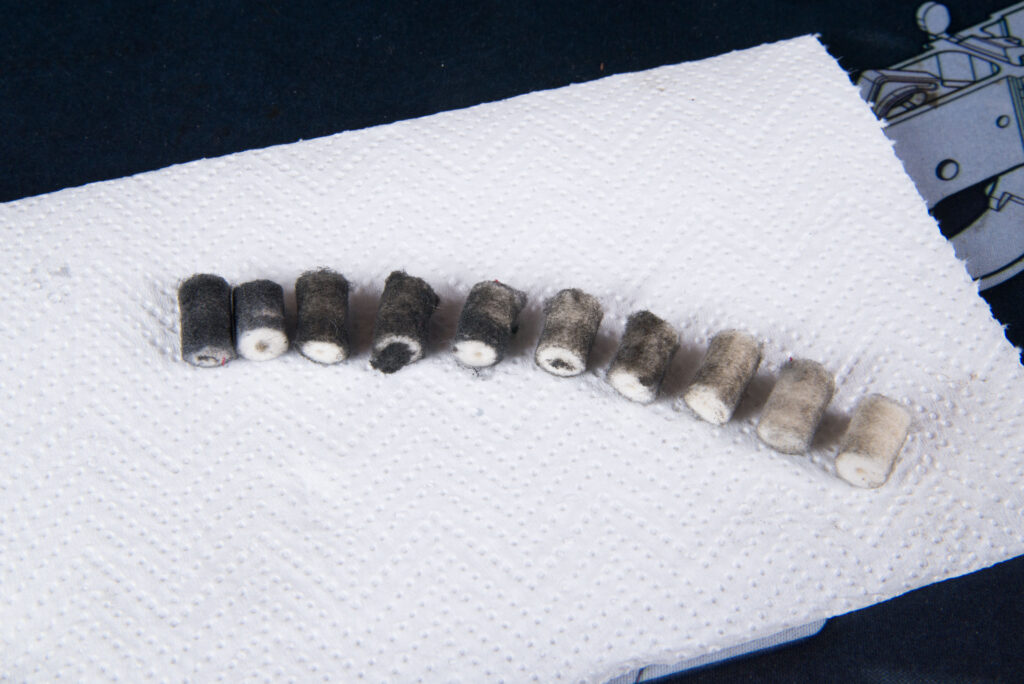
Felt pushers arranged in order of passing through the barrel (from left) – you can see how with each subsequent decreases the amount of dirt in the barrel
The foam works great not only at cleaning the barrel, but also the gas pipe
When cleaning hard to reach places it’s worth to help yourself with specialized instruments
The same bolt after cleaning
Instead of foam gun cleaning oil can be used. It’s squirted into a plugged barrel and takes about 15 minutes to react with the contaminants. The rest of the process is the same as described previously. Despite the foam being more expensive, I can say from experience that it’s also more efficient and I highly recommend using it instead of cleaning oil.
The next step is to remove the previously applied lubricant from the working parts as we want the parts to be dry. Then the working parts are sprayed with the cleaning oil which gets applied with a brush (a stiff toothbrush works good). When finished wipe the parts with a clean cotton rag and a q-tip as required.
Anticorrosion chemicals are applied in small quantities and only on the parts that are prone to corrosion (like metal springs). If you plan to clean the firearm regularly, there is no need to do this every time. If the weapon will be stored for a long time, apply the anti-corrosion chemicals. Remember that cleaning oil also has some anticorrosion qualities.
Polymer parts get the same treatment minus the rust protection.
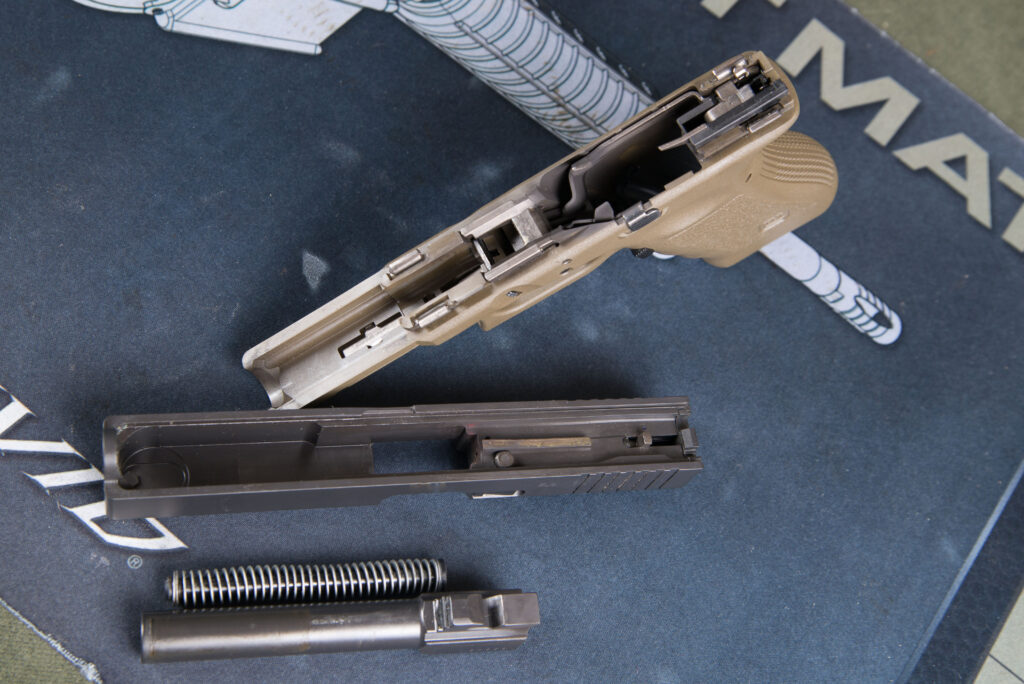
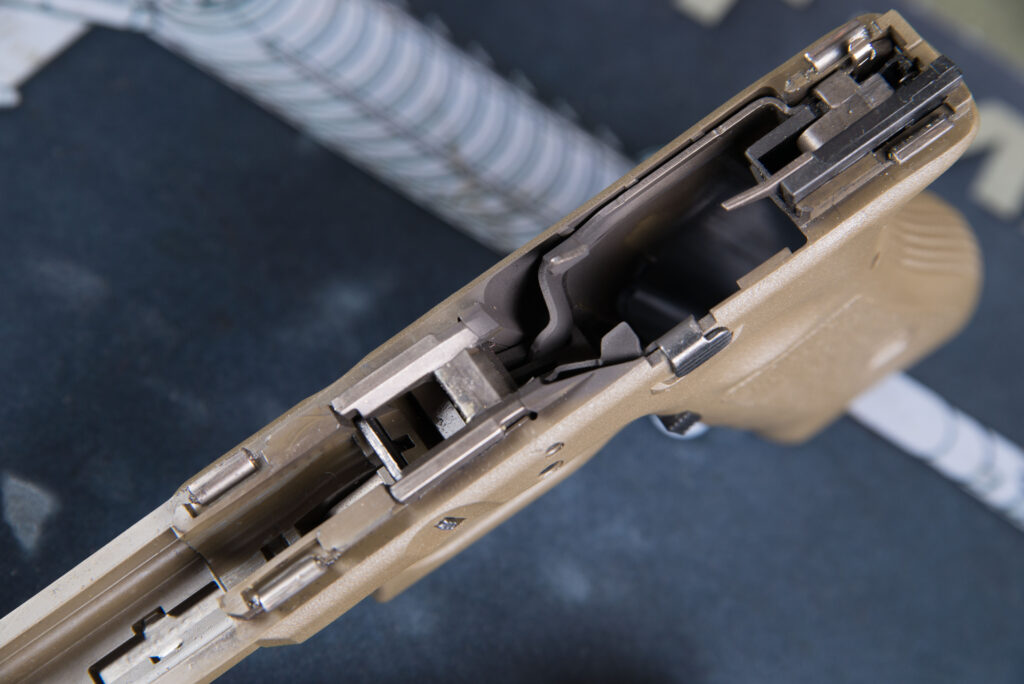
Glock 17 after firing about 200 cartridges. On the close-up you can clearly see burns on metal elements and on a composite gun skeleton (including the magazine slot) as well
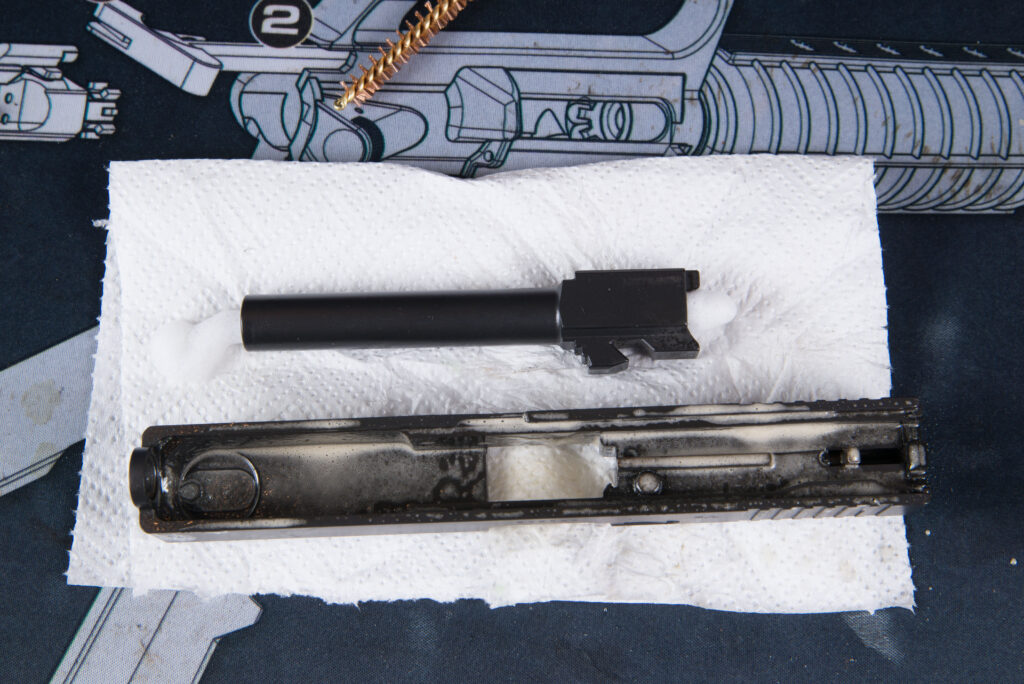
The barrel and the cartridge chamber and the Glock lock were treated respectively with foam and cleaning agent
Glock after cleaning
Lubrication
cleaning, working parts have to be re-lubricated. It is important for the durability of these parts, as a lubricant helps to prevent friction. Apply lube in small quantities only to the bearing surfaces of the working parts. Use a finger or a q-tip to spread the lubricant evenly – don’t go overboard with the lubrication as a thin layer is more than enough (relevant environmental conditions apply). Remember that lubrication (oil) is sticky and will attract sand, dirt and other contaminants, too much of it will cause stoppages. In fact, this is another reason for lubricant removal when cleaning as we remove contaminants with the lubricant.
Before storing the weapon, carry out all the usual functionality checks to see the firearm is operating correctly. This will save some unpleasant surprises at the range.
The above article is not a detailed how to. It’s just an introduction to a series of texts about firearm care, chemicals, looking after wooden stocks etc.
This article was originally published on MILMAG 01/2018





Comments
Nobody has commented on this article yet.